How do you draw like that?

Each artist has his or her own style and way of assembling a drawing. I mostly learn and work from looking at reference material. These are usually photographs from magazines or friends posing. The following are some examples of how I create a drawing.

Back


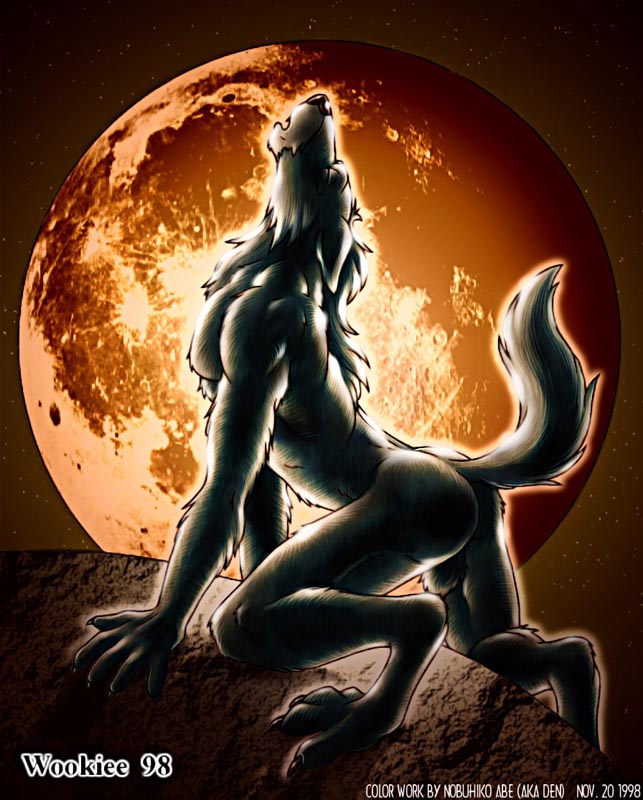
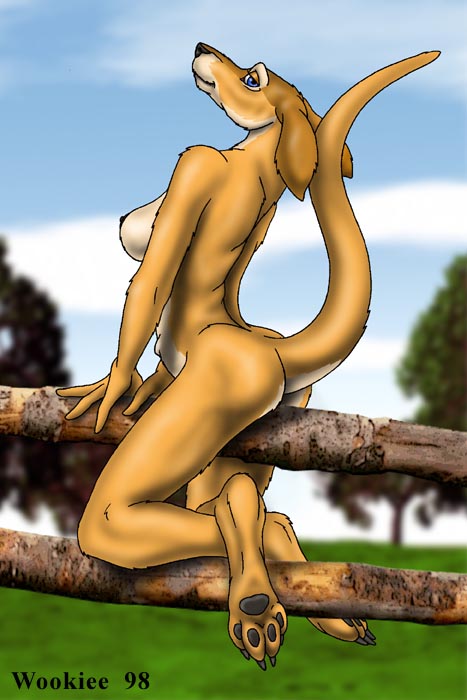
This reference inspired the werewolf drawing seen here. I don't recommend tracing over reference material since you WILL NOT learn anything by doing this. By using photographs as a visual guide only, over time you will begin to learn how anatomy works. Tracing is a mechanical act of simply following lines.

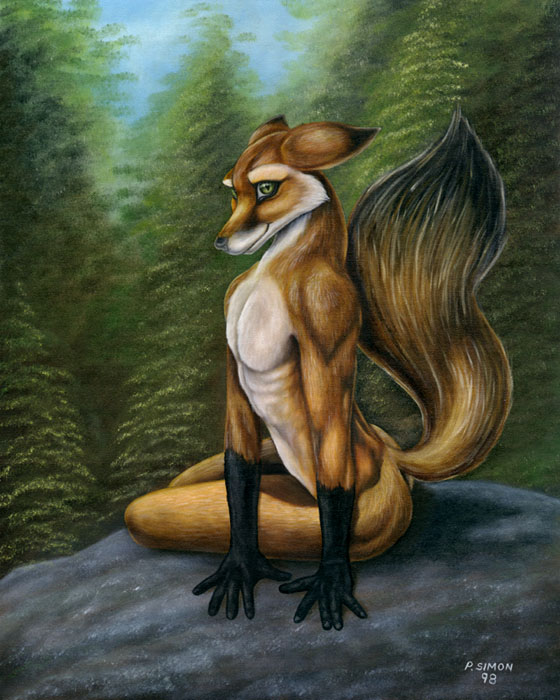
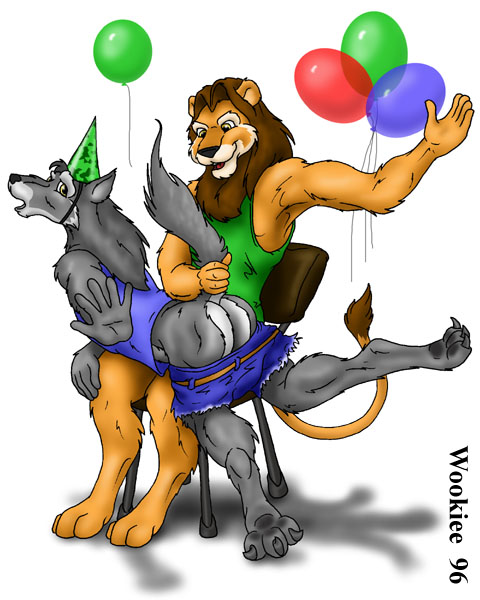
As you can see from these examples the rough drawing doesn't look exactly like the reference photo. Some slight changes were added and some mistakes were made (all part of learning)

Click here to see the inked version
Click here to see the colored version


When using photographs as reference material for a drawing I usually begin by breaking down the image into basic 'oval' shapes. In the rough drawing you can see the ovals outlining the upper torso and bottom. The arms, legs and breast were done the same way but I erased as I went along.

Once I have the basic shape of the parts I want in my drawing, I put away my reference and begin adding the anthro bits such as head, digidigrade legs and tail. Notice how the tail is an extension of the spine here and does not stick out of the back at a sharp angle.

Click here to see the finished version


For my Fox painting, I wanted the lighting to be very accurate. I first drew a thumbnail of the pose I was looking for. A friend of mine then posed in the same position with some artificial lighting. I later cleaned up the thumbnail with the reference material from the photo that was taken. When I painted the picture I used the photograph to help with shadows and highlights.

It is a good idea when taking these kinds of photos that you use several aperture settings so at least one of the pictures will be the proper lighting rather than have only one picture that is too dark or over exposed.

Click here to see the finished version


With this drawing I had the same person as above do a headstand against the wall as I drew the picture. I knew it would be a quick sketch and I did not need any lighting reference.


In allot of cases, I will do a drawing to near completion and later realize that some of the anatomy is way off. A good way to check for this is by holding up your drawing in front of a mirror. This way you will see your drawing from a whole new perspective and in most cases more errors can be caught.

In this drawing I realized too late that the upper body was way too big for the legs and the head was way too big for the upper torso. PhotoShop comes in handy for people like me that don't like to erase something and redraw it especially when I am happy with the way that part looks by itself. I scanned this rough drawing into PhotoShop and selected the upper body and shrank it then selected the head and shrank it. What I would do next is resize the entire image and print it out. I would then use a light table and clean sheet of paper to ink the finished piece.


Over the years I feel my sense of anatomy has improved and in some cases I would do a drawing without any reference materials. Radjin here was drawn with no reference and allot of erasing. I started out with a rough stick figure and ovals defining the shape and progressed from that.

One of the problems with this picture is the perspective. The hips and knees do not line up with the line of perspective of the shoulders and elbows. This is ok if he is resting kind of crooked but in this case it was just overlooked.

Click here to see the finished version


Here is another example of how I use ovals and simple lines to define shapes and composition. Once again, different artists have different styles and ways of doing things that work for them. My samples page is just to show you how I do my drawings.

Click here to see the finished version


One fun exercise is to do a sketch in a limited time frame. This was a two-minute sketch. By doing these kind of quick exercises you can see just how much you know about anatomy.


Back